Running Selenium Java project on Jenkins


Table of contents
Introduction
Automating your testing with Selenium and Java is a smart move for efficiency. This blog explores how to seamlessly run your Selenium Java project on Jenkins, unlocking the potential for continuous testing.
Creating a Jenkins Maven project for a TestNG Selenium Java project involves configuring Jenkins to build and execute your Maven-based project. Below are the steps to set up a Jenkins Maven project on your Windows machine
Prerequisites
Install Jenkins:
- Make sure Jenkins is installed on your Windows machine. You can download Jenkins from the official website: Jenkins Download
Install Maven:
- Ensure that Maven is installed on your machine. Download Maven from the official website: Apache Maven Download and follow the installation instructions.
Steps to Create a Jenkins Maven Project
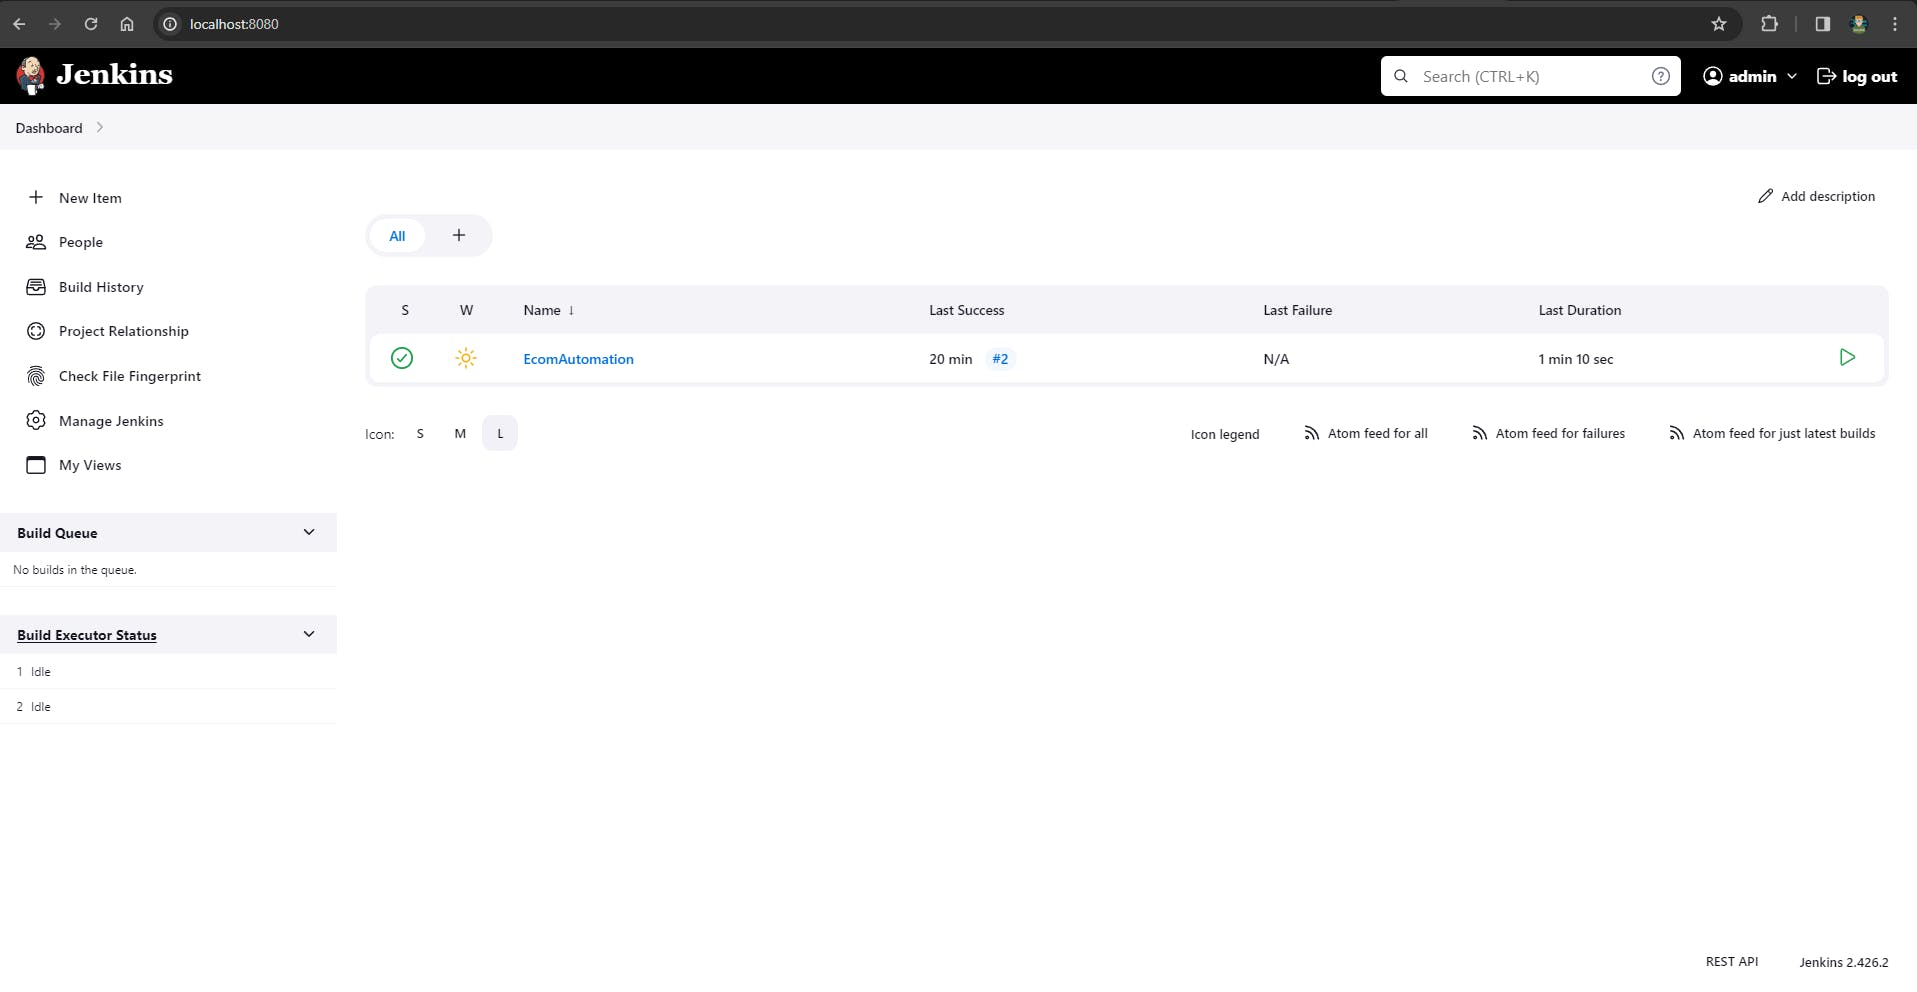
1.Open Jenkins
Open your Jenkins dashboard in a web browser. The default URL is usually http://localhost:8080/. Then log in to your Account.
Navigate to Plugin Manager:
Go to "Manage Jenkins" -> "Plugins."
Install the Following Plugins:
Git Plugin
Maven Integration Plugin
TestNG Plugin
Verify Installation:
Once the installation is complete, Jenkins may prompt you to restart. Verify that the plugins are installed by checking the "Installed" tab in the Plugin Manager.
2.Create a New Jenkins Job
Click on "New Item" on the Jenkins dashboard.
Enter a name for your project and choose the "Maven project" option.
Click "OK" to create the new Jenkins job.

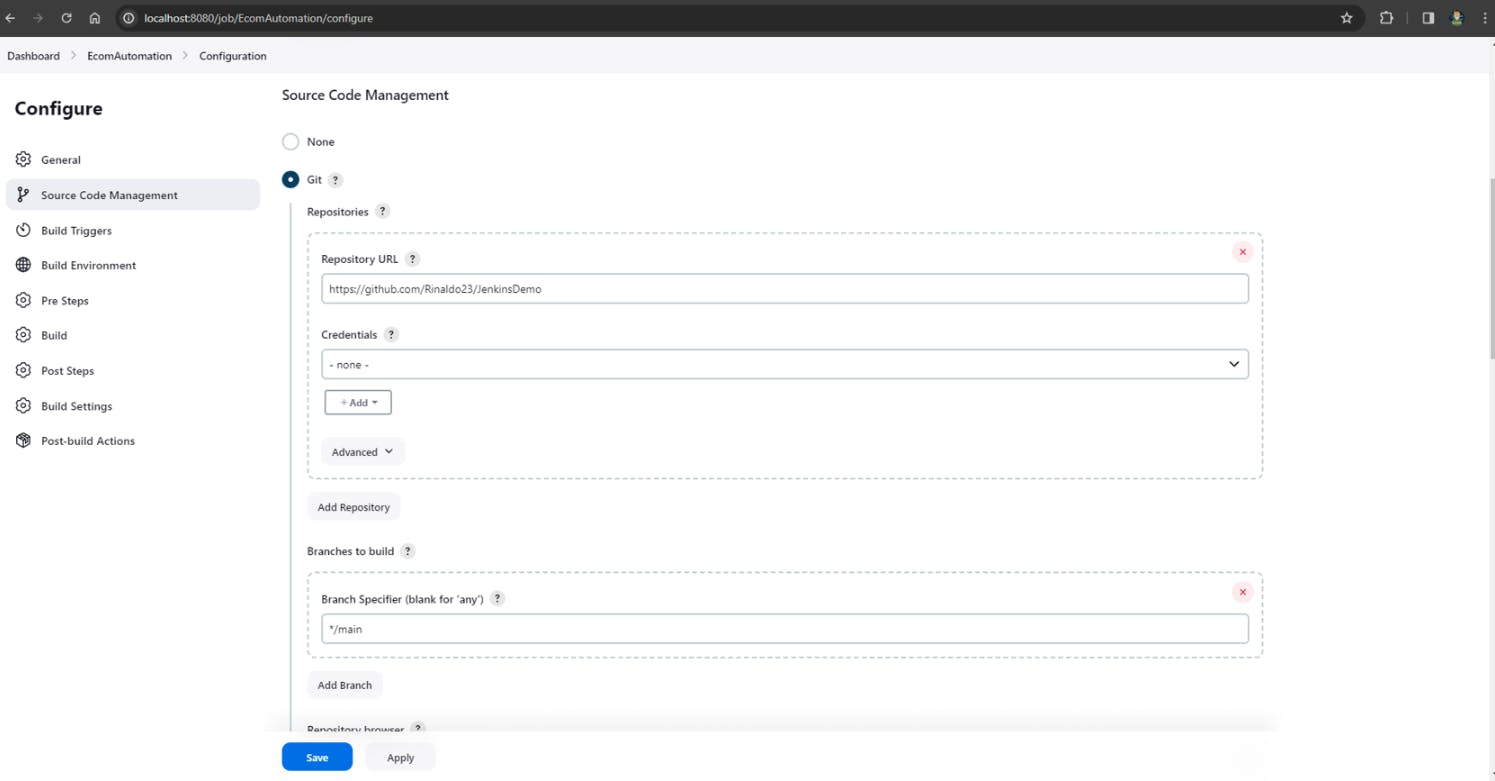
3.Configure Source Code Management (SCM)
In the job configuration, find the "Source Code Management" section.
Select your version control system (e.g., Git) and provide the repository URL.
Specify the branch to build.
4.Configure Build Trigger
- Specify when you want Jenkins to trigger a build (e.g. when changes are pushed to the repository).
5.Save Configuration
- Save the Jenkins job configuration.
6.Configure JDK and Maven:
If your project requires a specific JDK version, make sure to configure it in the job configuration.
If your project requires a specific Maven version, configure it as follows: Dashboard -> Manage Jenkins -> Tools -> Maven Installations -> Add Maven -> Save.

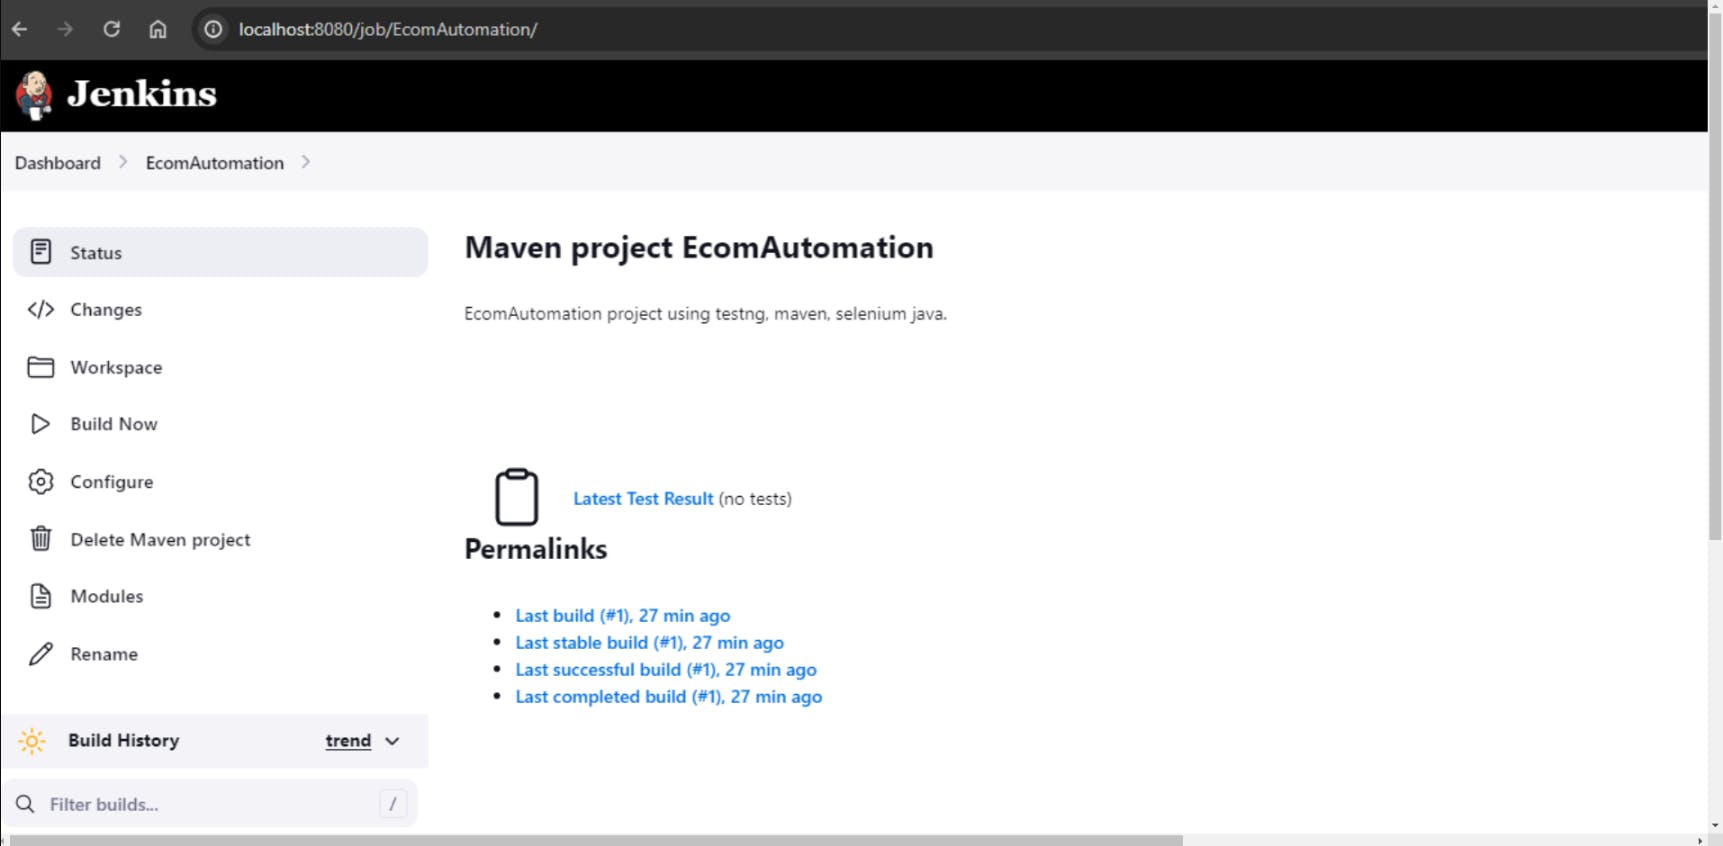
7.Build the Project
- Click on "Build Now" to trigger a manual build or wait for an automatic build if you configured a build trigger.
8.View Console Output:
After the build completes, click on the build number and then select "Console Output" to view the detailed output of the build process. This helps troubleshoot any issues.
Additional Considerations
Ensure that Selenium WebDriver dependencies are specified in your Maven project's
pom.xml.Make sure that WebDriver binaries (e.g., chromedriver.exe) are accessible and properly configured in your Selenium tests.
Jenkins should have the necessary permissions to execute the build and access the required resources.
This basic setup assumes that your TestNG tests are configured in a testng.xml file. Adjust the Maven goals and configurations based on your project's specific structure and requirements.
Conclusion
Integrating Selenium with Jenkins accelerates your testing and establishes a foundation for CI/CD. Running your Java project on Jenkins fosters faster feedback, improved collaboration, and reliable software delivery, marking a significant stride in your software development lifecycle.